
Many of the tools we're going to use -- such as NPM -- require Node.js. NPM stands for Node Package Manager and we use it to add third-party libraries to our project.
You probably already have Node and NPM installed.
Otherwise... go and download them now.

We're going to use a bootstrapping tool called create-react-app.
It gives us a fully-functional skeleton app, preconfigured with linting, ES6-to-ES5 transpiling, hot reloading, development vs. release builds, automated testing, etc.
Don't worry yet about what these terms mean.
npm install -g create-react-appBe patient because it takes a while to pull down all the dependencies... depending on the speed of your internet connection.
Now we're ready to create the beginning of our project. By default, create-react-app sets you up to use ES6 JavaScript with Babel.
To use TypeScript instead, instruct create-react-app to use an alternate set of scripts like this:
create-react-app hello-world --scripts-version=react-scripts-tsBe patient again... it may take a while to download everything you need.
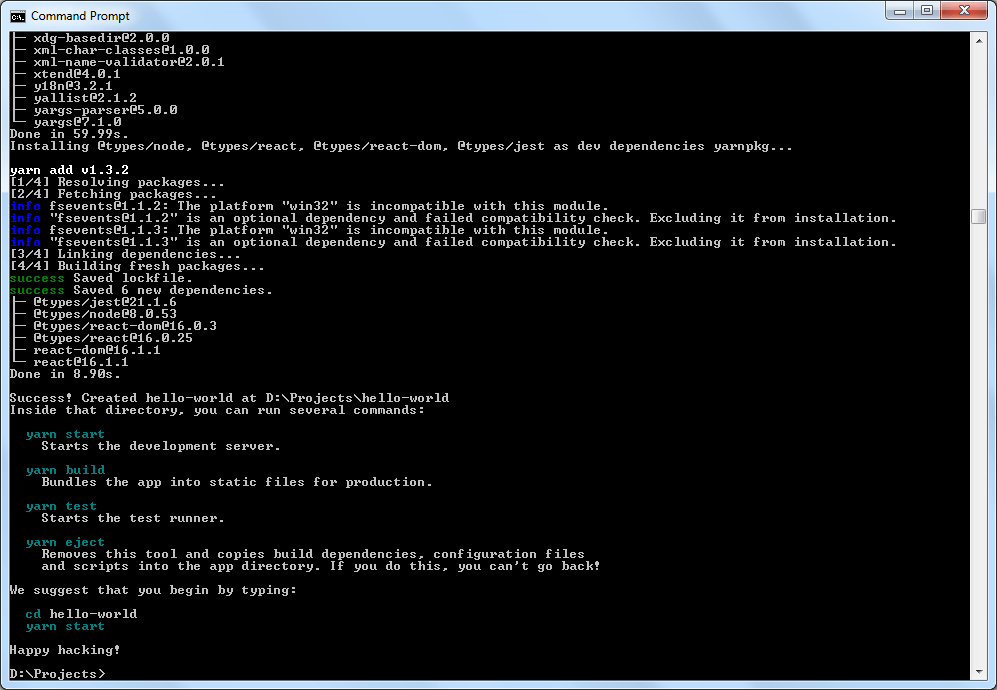
Happy hacking, it says.
Your app is ready to go. Run it now to see a basic website made with React.
Note: the create-react-app documentation refers to yarn (made by Facebook) instead of npm (the standard). These are essentially interchangeable. I use npm by habit. Feel free to use whichever you prefer.
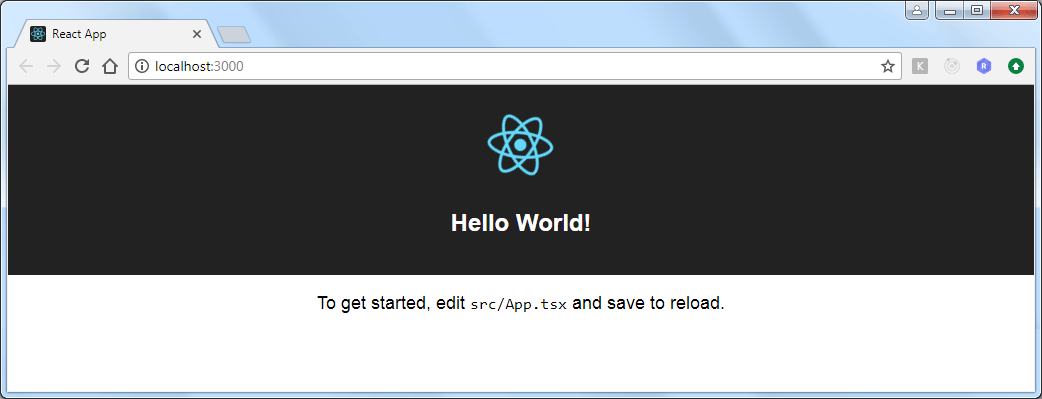
cd hello-worldnpm startIt will compile your project and then, upon success, run a development server on a local port.

It also launches your new web app into a browser window.

Looking good. Time to make some changes.
No doubt you've already got a code editor that you love.
If that editor happens to be Visual Studio 2015 (or older) then you absolutely need to try VSCode, which has much better support for TypeScript.
Otherwise, feel free to skip this step.
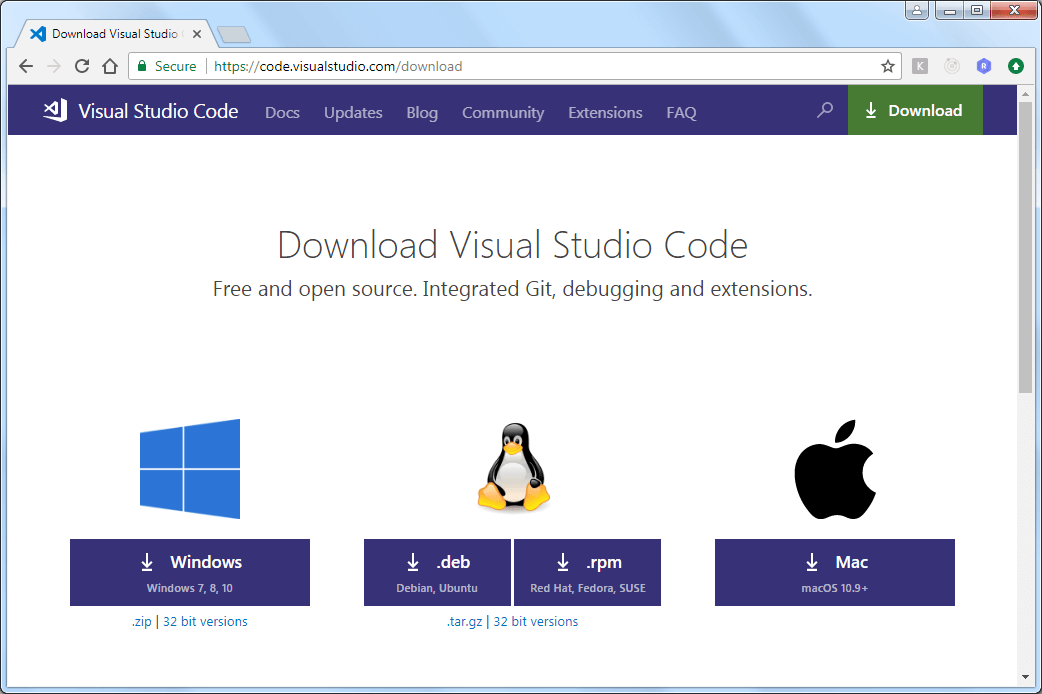
Download VSCode from https://code.visualstudio.com/download
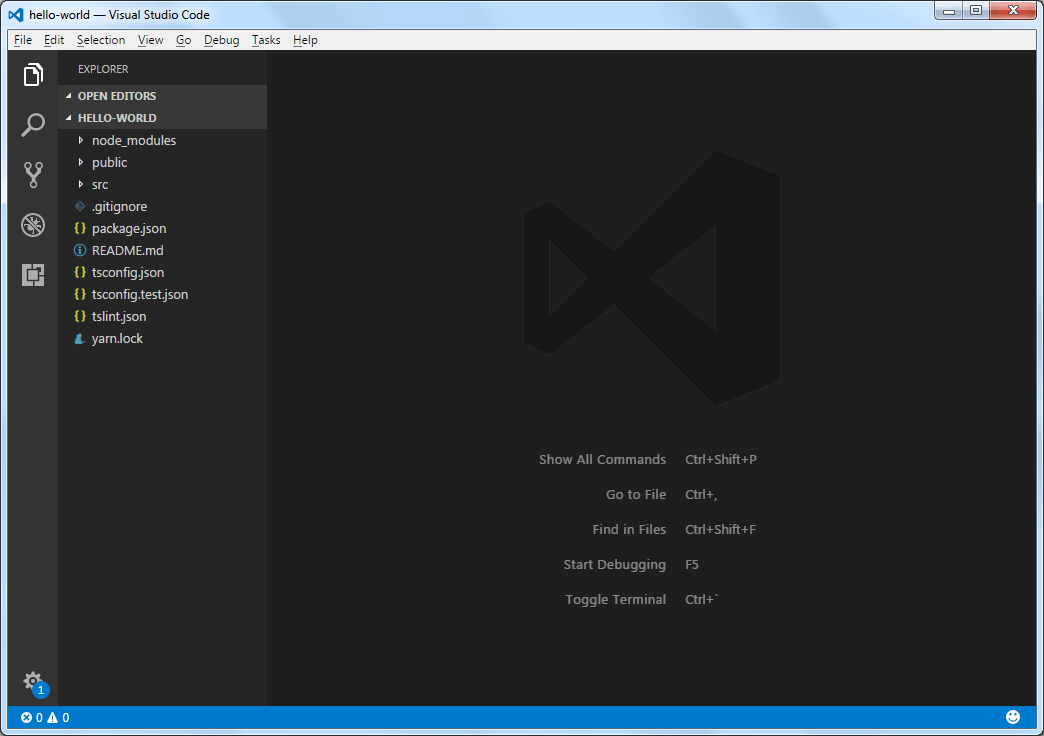
Open the project folder you just created.
The term 'hot reloading' refers to you being able to make source code changes, save those changes, and then have the changes appear in your browser without you having to perform any other steps.
Try it now by changing some text in App.tsx and press Ctrl S to save

Then go back to your web browser and see that the changes have magically appeared
Redux will handle our application state.
Install Redux via npm. You should also install the TypeScript type definitions for Redux.
npm install --save redux @types/reduxFinally, we need to connect React and Redux. This is essential for having React automatically update in response to changes in our application state.
Note: if you're wondering why this isn't provided with Redux automatically, it's because Redux doesn't have to be used with React. Similarly, React doesn't need Redux. Some developers may choose Flux, MobX, other libraries, or even nothing but pure React.
Install react-redux and its TypeScript definitions
npm install --save react-redux @types/react-reduxNow you're ready to start playing with the code and learning React/Redux.
I just want to point out one more thing.
The automated testing can be initiated from the command line like this:
npm run testThe test runner is Jest (also written by Facebook). It runs your test suite and then waits for file changes before running again.
create-react-app provides a single test in App.test.tsx that verifies the App component doesn't crash when rendered.
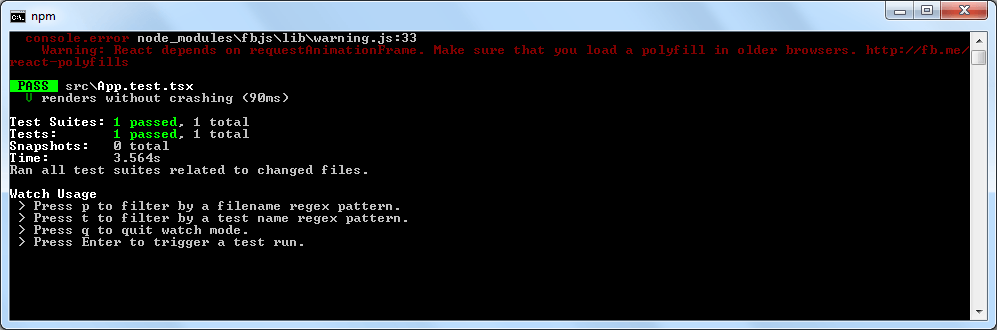
And, of course, it passes.
This is just the beginning of your journey into React/Redux with TypeScript.
Create-react-app has taken care of concerns like setting up TypeScript linting, hot reloading, Webpack, automated testing, development vs. release builds, etc.
However, the creators of create-react-app hold the philosophy that the choice of technology stack to build around React should be yours rather than theirs.
And there is a lot of room for choice.